Make before-and-after comparisons
Two images side by side make people compare. One wiping into the other makes them see the change. Drop in two screenshots and OwnClip composes the comparison.
Free to use. Recordings are capped at three minutes and export at 720p with a watermark.
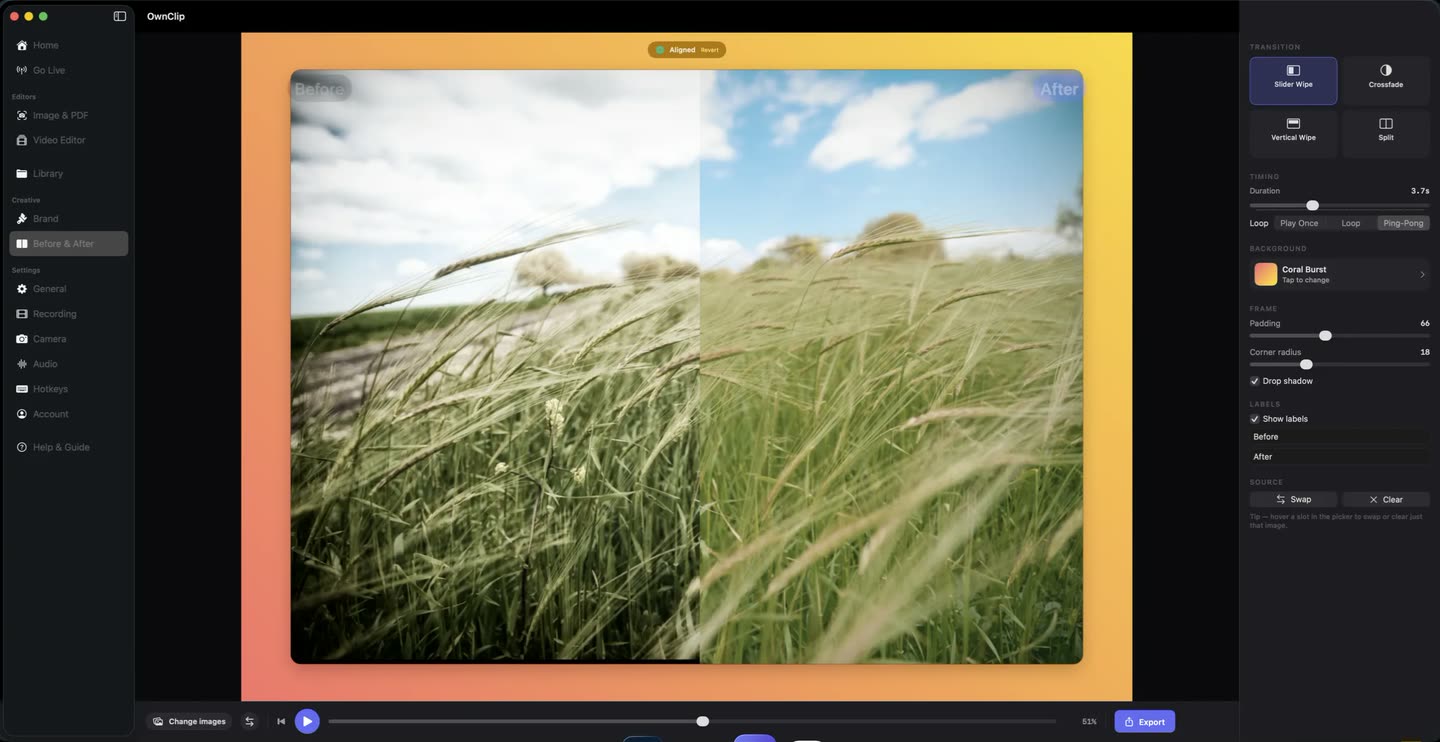
Showing a change is harder than making it
You redesigned the page, cleaned up the data, retouched the photo. Presenting that means putting the two states next to each other in a way that makes the difference obvious rather than requiring a caption.
A wipe does it in two seconds, and it does not need a video editor.
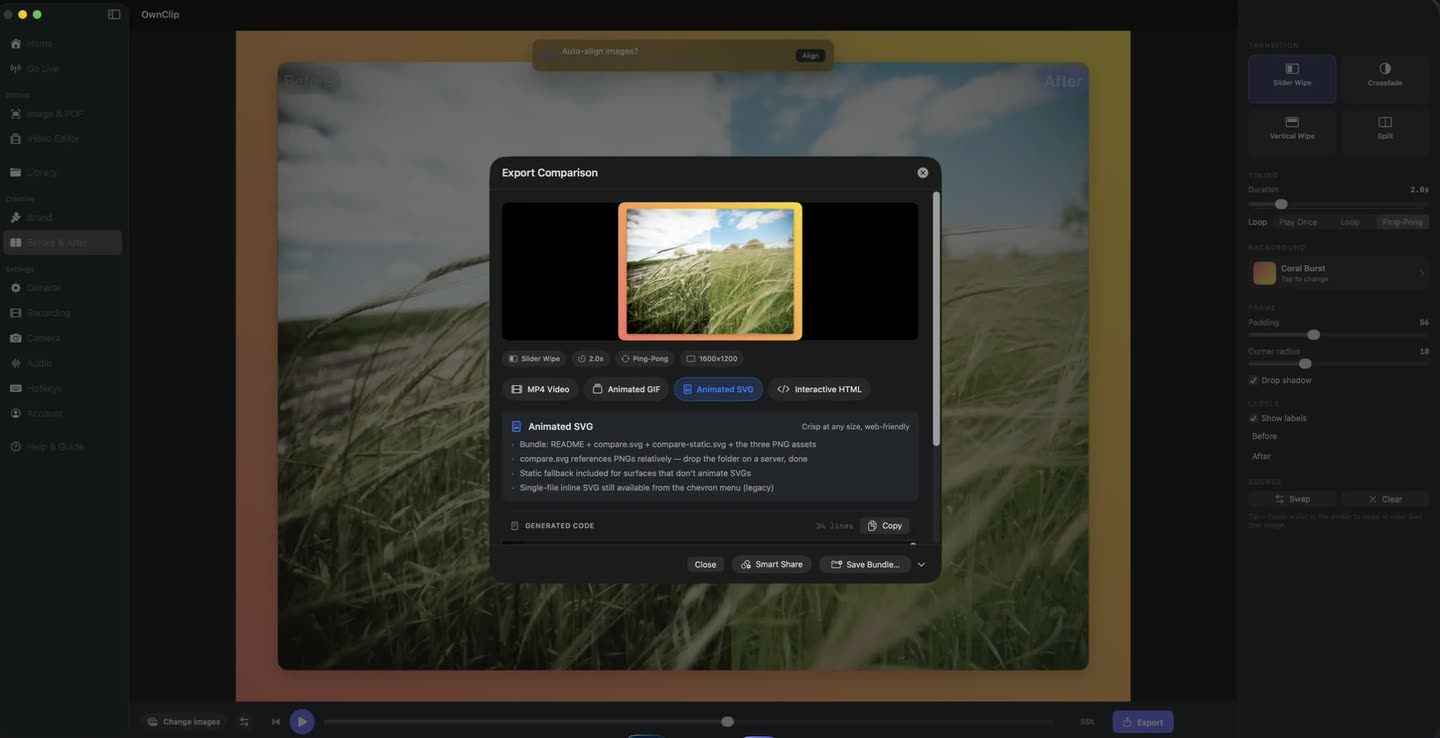
Video, GIF, SVG or embed.
The animated SVG carries no scripting, and the interactive HTML embed gives the reader a handle to drag. Both drop into a pull request, a release note or a page.
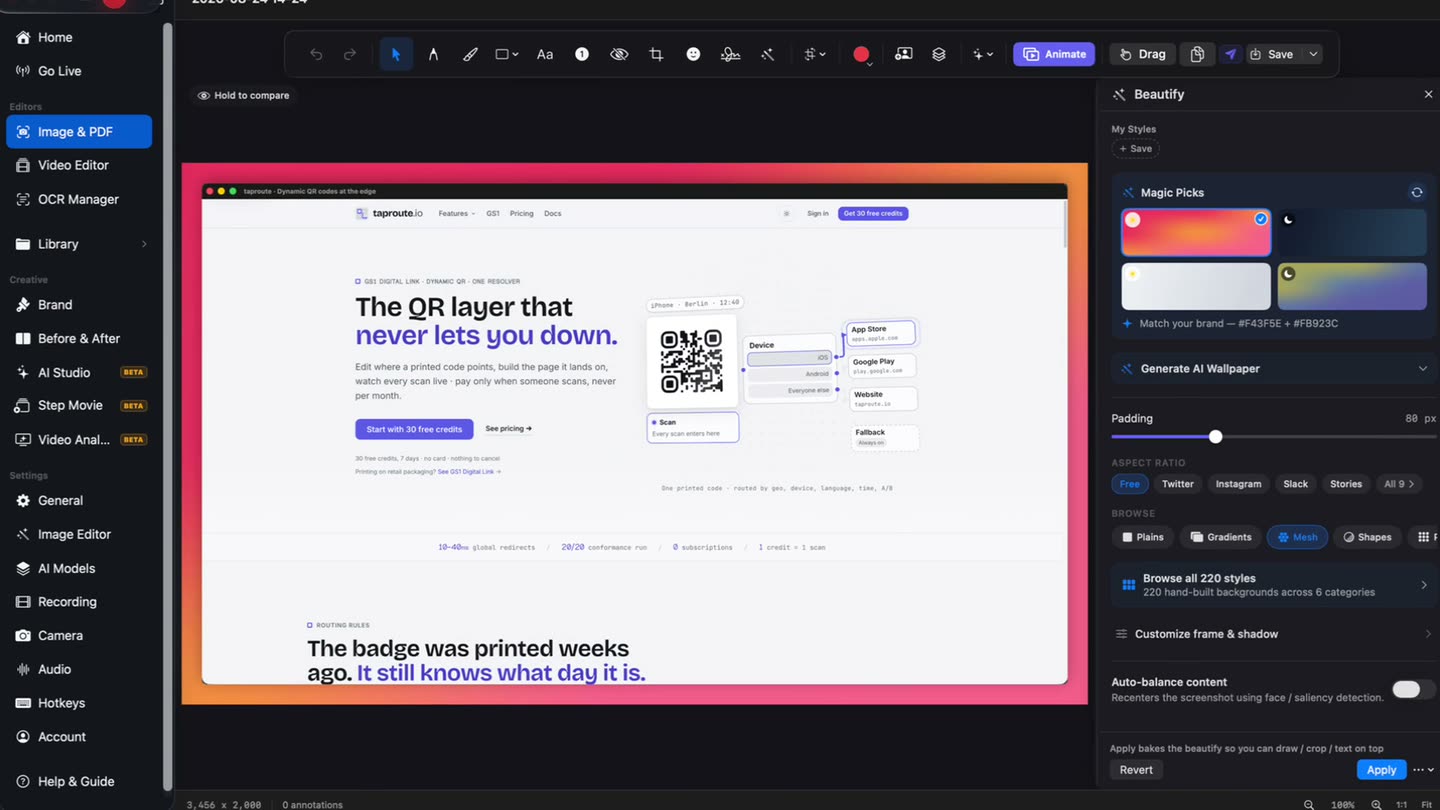
It looks like the rest.
Backgrounds, padding, corner radius and shadow come from the same Beautify controls used on screenshots, so a comparison matches everything else you publish.
What people compare
Interface redesigns
The old screen and the new one, so reviewers see what actually moved.
Photo and image edits
Retouching and colour work, where the change is the entire point.
Before and after a fix
A broken layout and a repaired one, in a pull request or a release note.
Progress over time
The same view at two points in a project.
Questions people ask
No. Before & After takes two images as input. The output is a video, GIF, SVG or embed, but the sources are stills.
Yes, the Before & After tool is available on every tier.
MP4, animated GIF, animated SVG containing no scripting, and an interactive HTML embed with a handle the reader can drag.
The older one by default, based on when it was captured. You can swap them by right-clicking or by dragging an image into the slot you want.
From the Creative section of the sidebar, or File → New Comparison.
Related
Make before-and-after comparisons
Free to start. macOS 26 or later, Apple silicon.