Annotate screenshots on your Mac
A screenshot with an arrow on it answers the question. A screenshot without one starts a conversation about which part you meant.
Free to use. Recordings are capped at three minutes and export at 720p with a watermark.
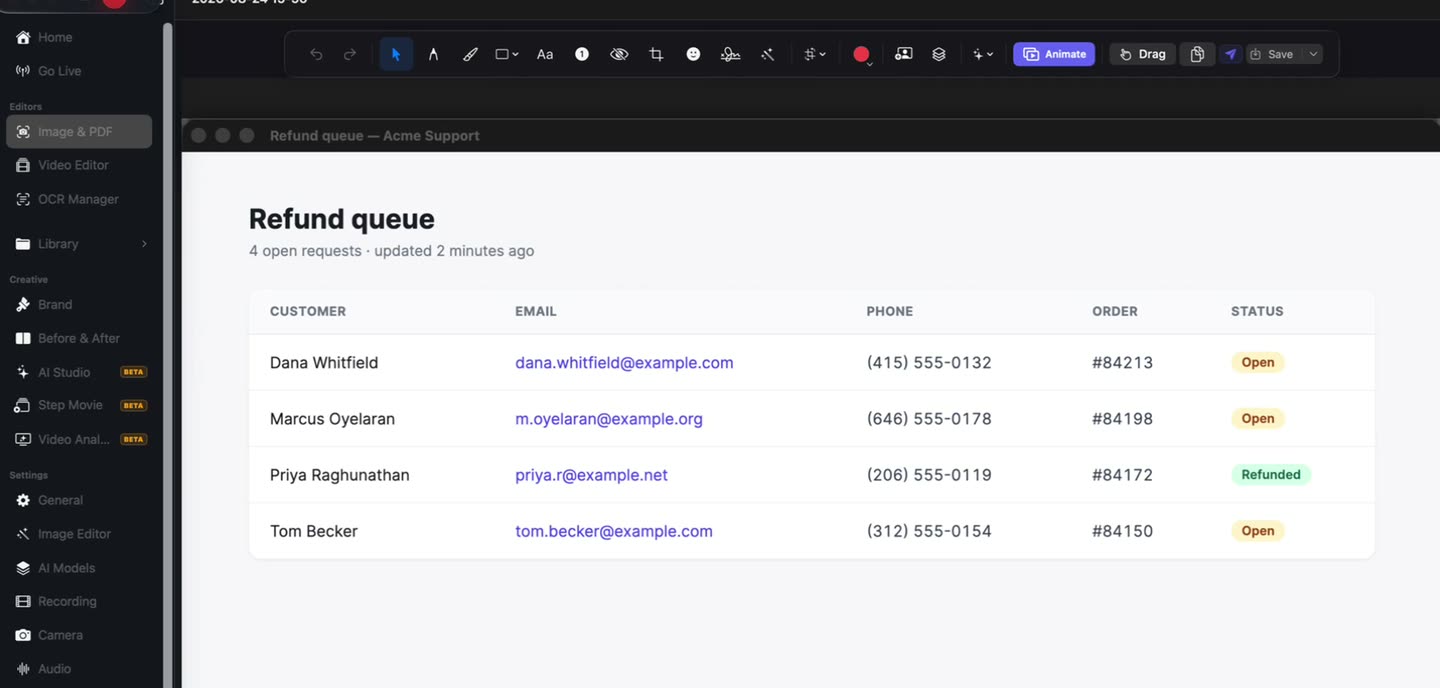
The gap between taking a screenshot and using one
The capture takes a keystroke. Then it sits in a folder while you open something else to draw one arrow on it, and half the time you paste it in unmarked and explain in text instead.
OwnClip opens the capture in an editor immediately, with the markup tools already there.
Everything, one menu deep.
Pen, marker and highlighter; rectangles, ellipses, triangles, diamonds and stars; four arrow styles; text, numbered steps, blur, crop, stickers and a signature — over whatever you just captured.
- Four arrow styles
- Numbered steps
- Signature
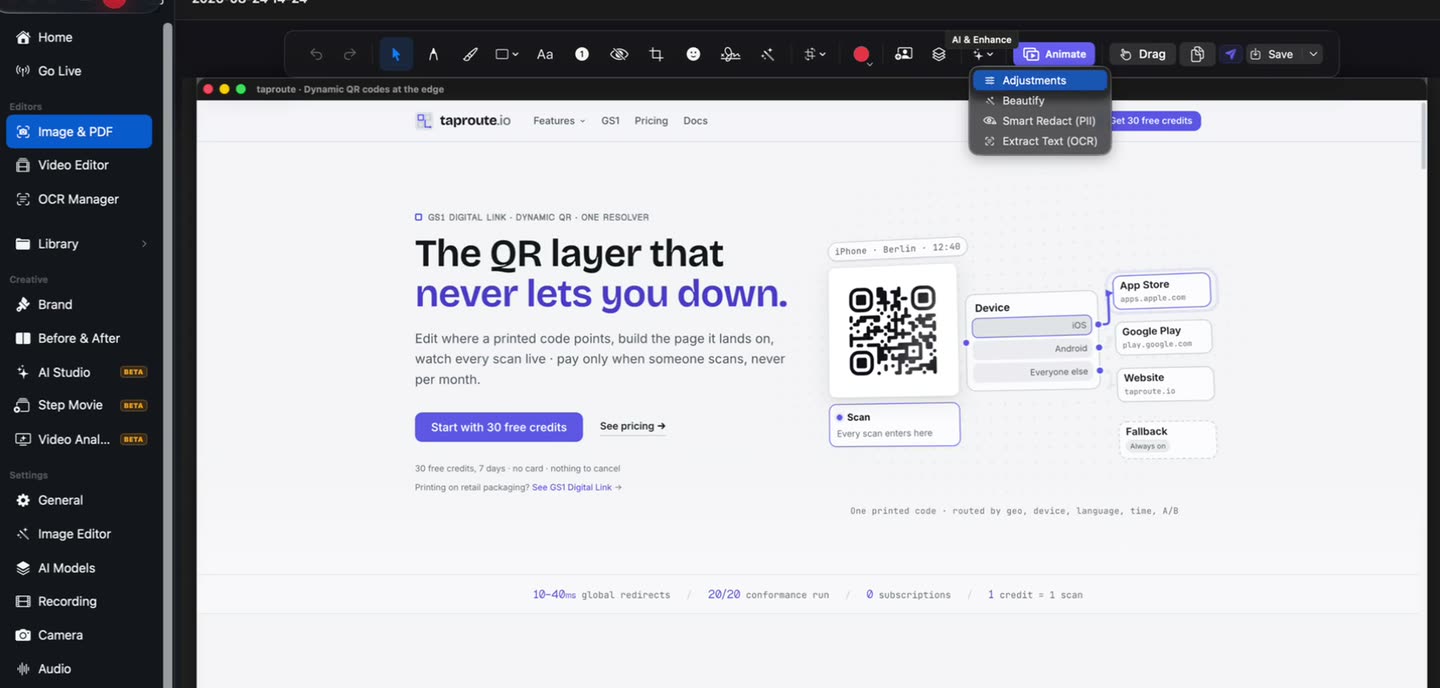
A flat capture, framed.
Drop the shot onto a background with padding, rounded corners and a shadow when it is going into a post or a deck. Magic Picks does it in one click; the rail does it precisely.
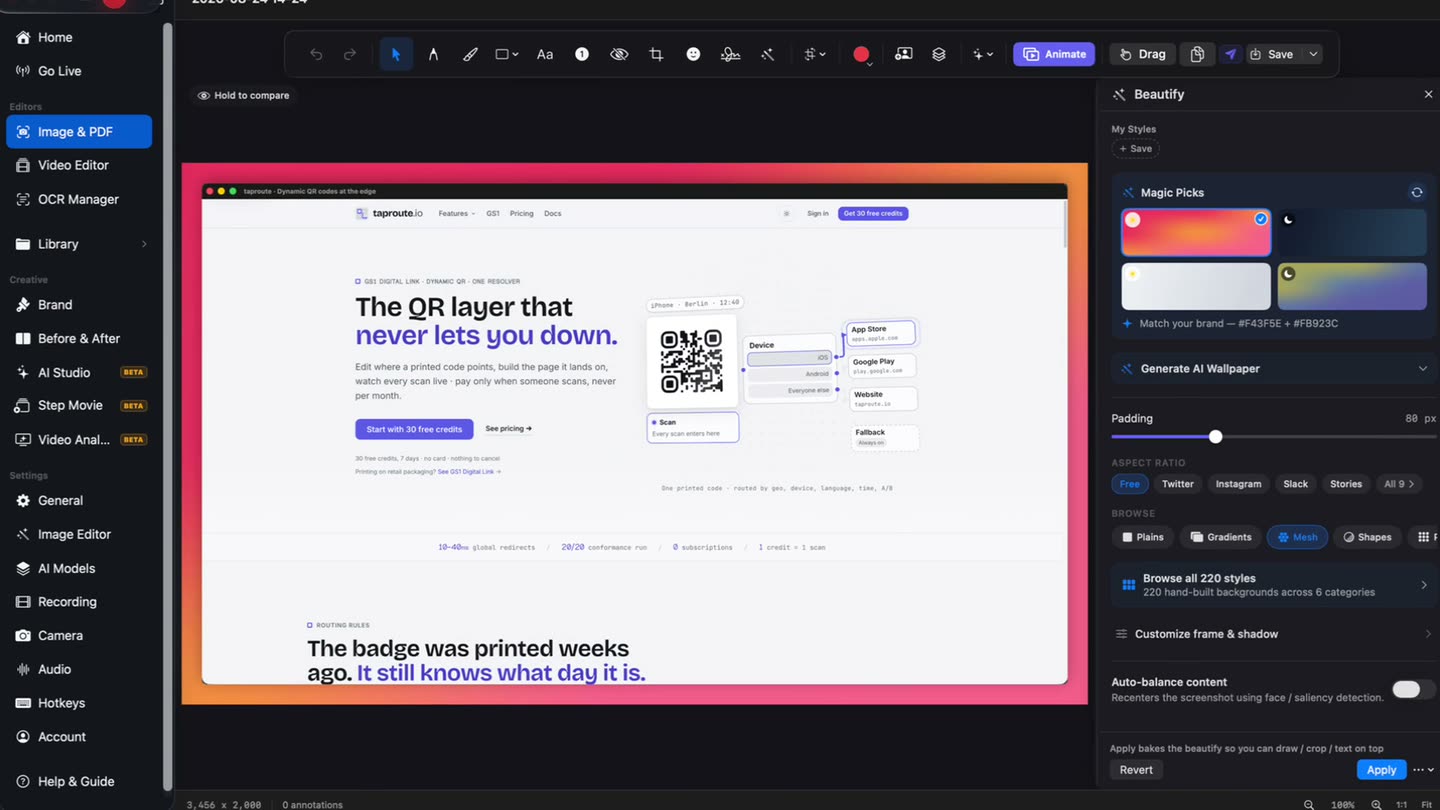
Blur what should not ship.
A local scan finds email addresses, phone numbers, card numbers and identifiers and proposes them for review. You can also blur any region by hand.
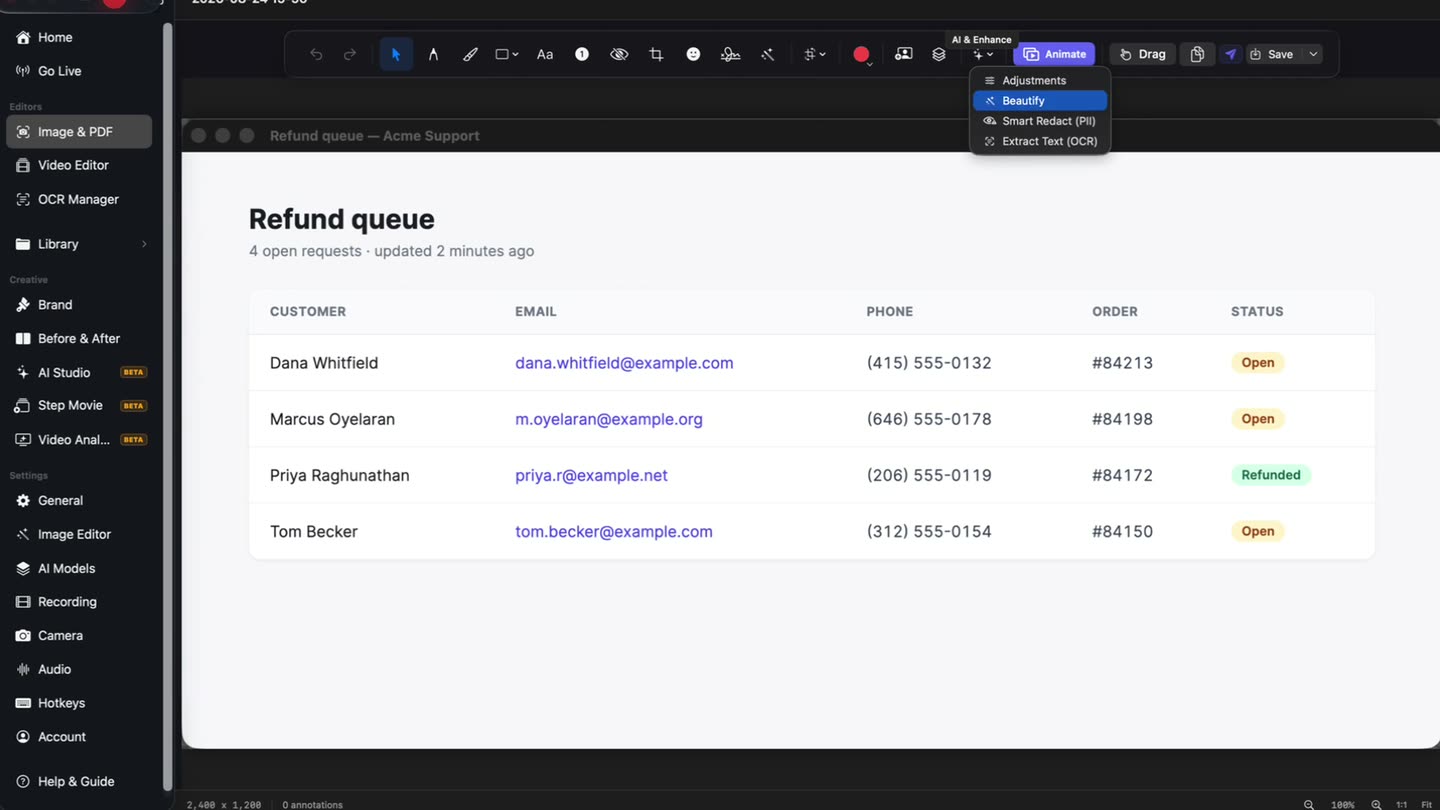
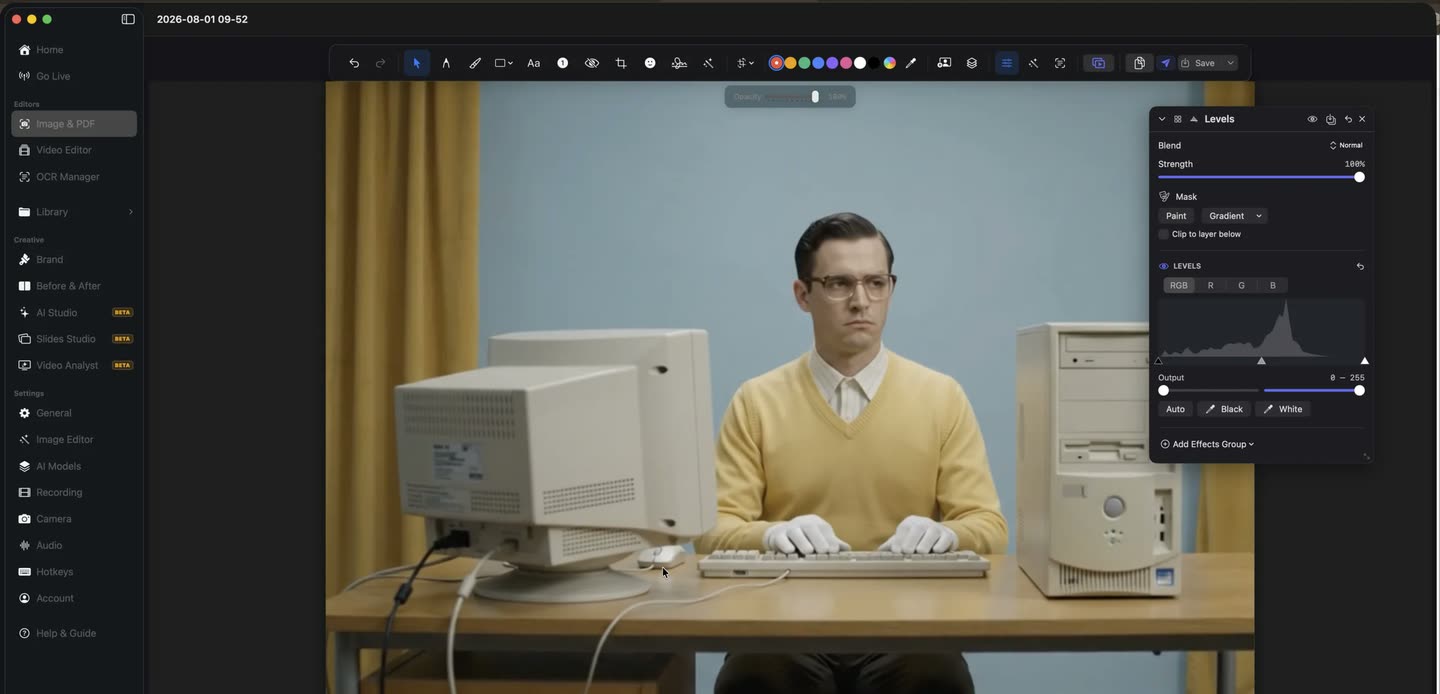
Adjustment layers, on a screenshot.
Curves, levels and HSL as non-destructive layers with masks and blend modes — the same editor handles a photo as happily as a capture.
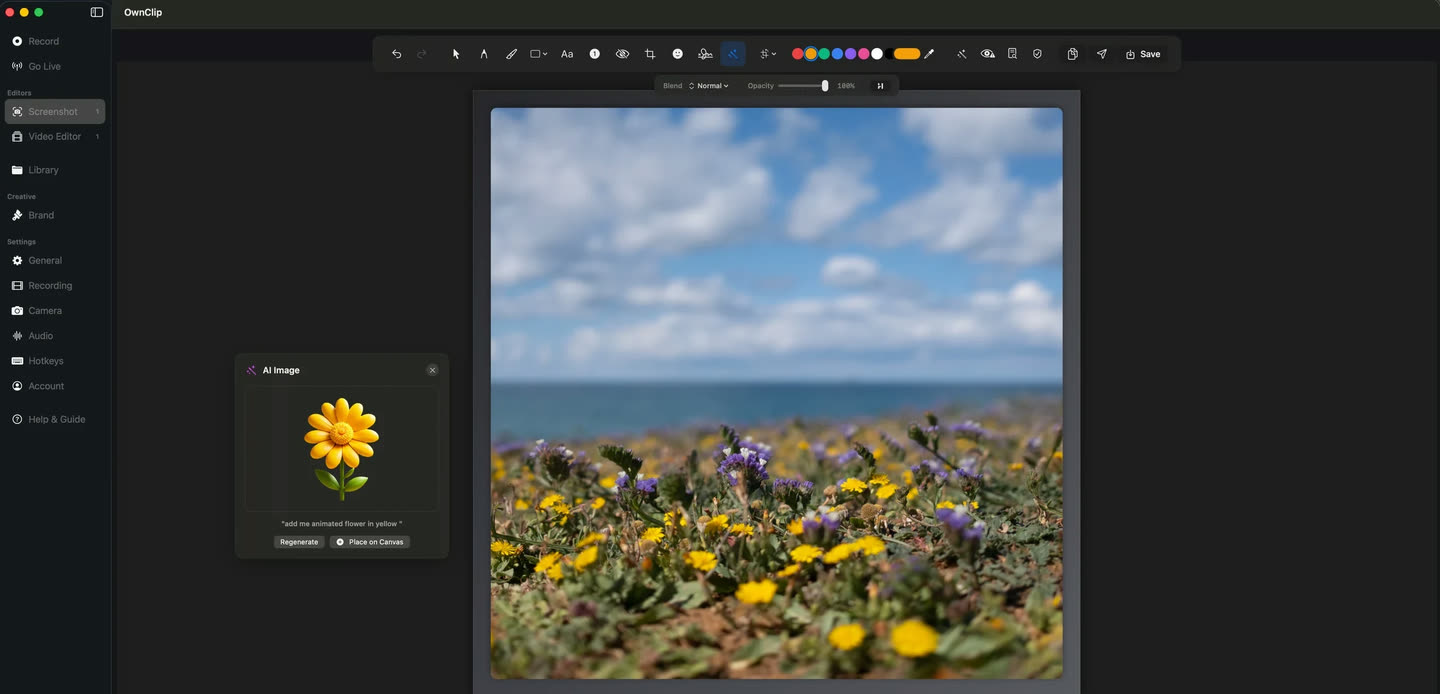
Pull text out. Put images in.
Extract the text from any capture as editable text, or describe something the shot is missing and place it on the canvas.
What you can do to a capture
Arrows and shapes
Four arrow styles plus rectangles, ellipses, triangles, diamonds, stars and lines.
Pen, marker, highlighter
Three freehand tools with different weights and opacities.
Text and numbered steps
Labels, and badges that number themselves in sequence.
Blur
Obscure a region by hand, or let a scan propose the sensitive parts.
Signature
Draw a signature once and place it on documents.
Crop and stickers
Trim to what matters, and drop in emoji or images.
Questions people ask
Yes. All 22 markup tools are available on the free tier. Free exports carry a small watermark. Scroll capture and batch processing are part of Pro.
Yes, full-page and region scroll capture are supported. Scroll capture is part of Pro.
Yes, by hand or by scanning the capture for things like email addresses and card numbers, which are proposed for your review rather than applied automatically.
Yes. Text extraction is free with a limit of five uses a month; Pro makes it unlimited.
To a folder on your Mac, and into a floating panel that appears after each capture so you can mark up, copy or discard it without hunting for the file.
Related
Annotate screenshots on your Mac
Free to start. macOS 26 or later, Apple silicon.