A Mac image editor where every change stays a layer
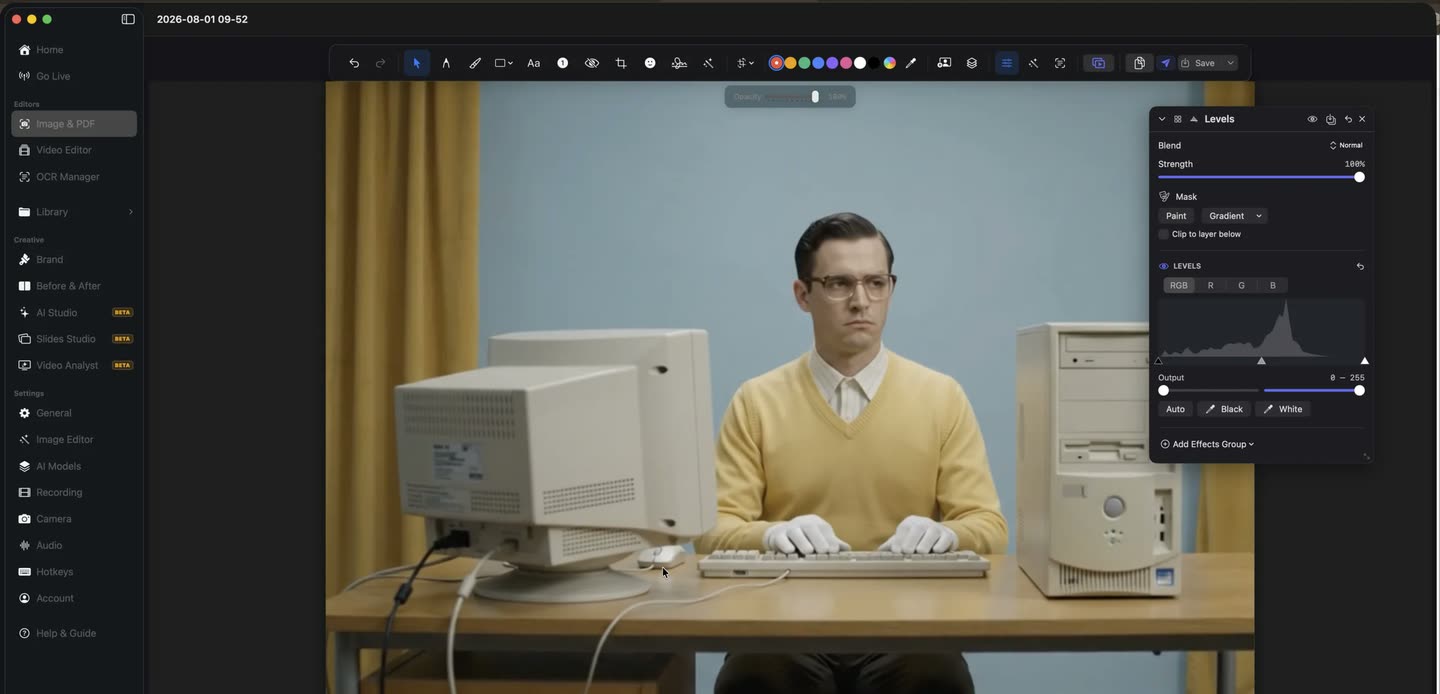
The image editor in OwnClip keeps every correction as a layer instead of writing it into the pixels. Curves, levels, white balance and .cube LUTs each arrive with their own mask and blend mode, and nothing is baked until you export.
Free to use. Recordings are capped at three minutes and export at 720p with a watermark.
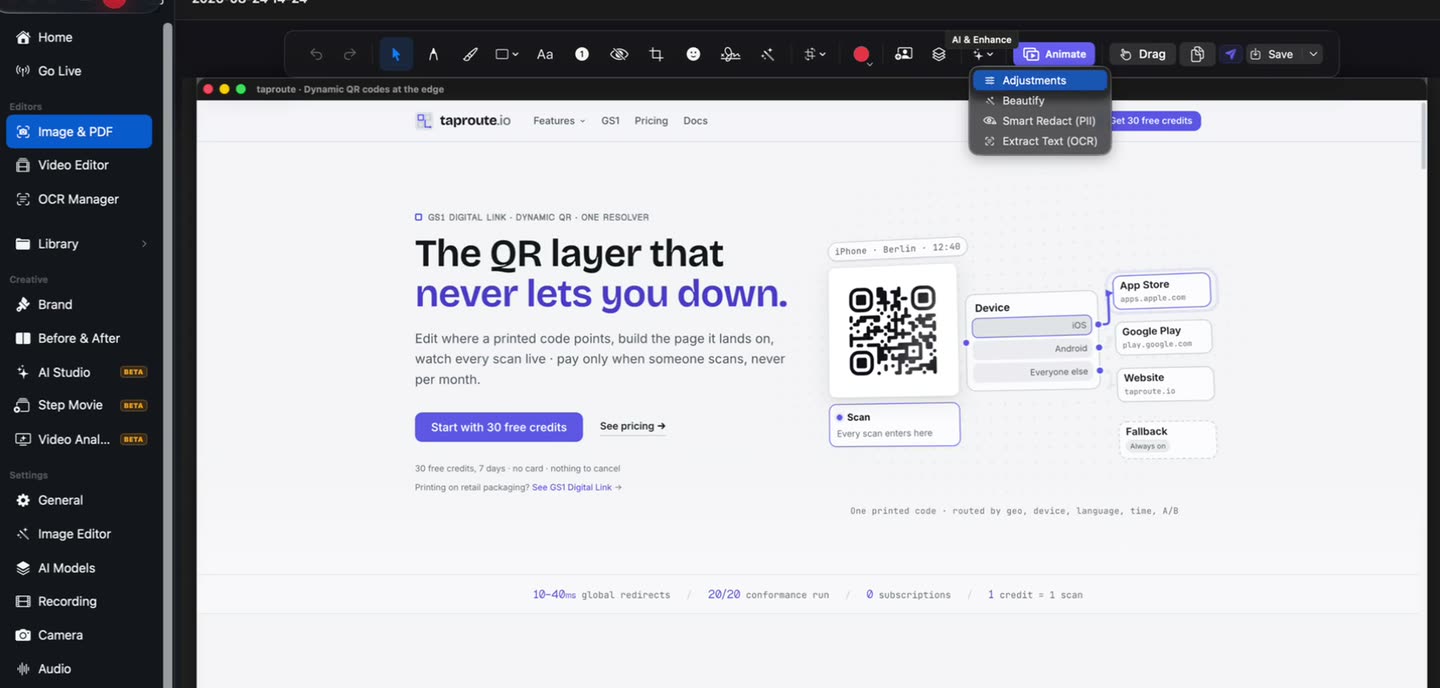
Adjustments sit one menu deep.
A capture or a photo opens in the same editor, and Adjustments is in the same menu as Beautify and everything else the app does to an image. There is no import step and no second application to correct colour in.
- Screenshots
- Photos
- Camera RAW
Eighteen kinds of adjustment
Each one is a layer with its own mask and blend mode, and none of them is gated behind a tier.
Curves and levels
Per-channel curves for red, green and blue, and a levels editor drawn over the image histogram, so contrast lands where you put it rather than where a slider guesses.
White balance and HSL
Temperature and tint first, then an eight-band hue, saturation and luminance mixer for moving one colour without dragging the others with it.
Grading, selective colour and LUTs
Three-way lift, gamma and gain, selective colour, and external .cube LUTs you already use elsewhere.
A mask and a blend mode per layer
Each adjustment affects everything below it, and its mask decides which part of the frame that is.
Markup on the same image
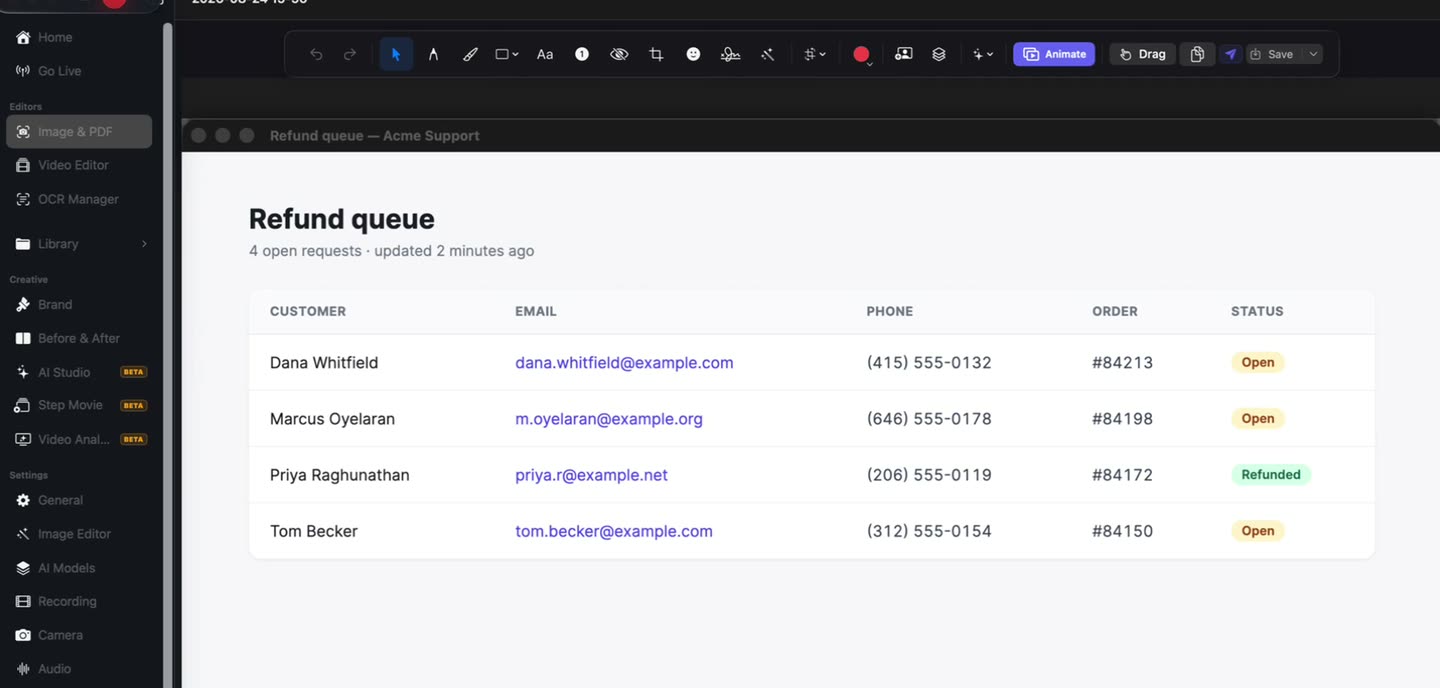
Pen, marker, highlighter, shapes, four arrow styles, text, numbered steps, blur and crop — 22 tools on the image you just corrected.
Magic Erase
Paint over something that should not be in the shot and the background closes behind it, on your own Mac. The High Quality engine downloads its model once.
Correct it, then mark it up.
The markup toolbar runs on the same image the adjustment stack is working on, so a tonal fix and a blur over a customer name are one pass through one file instead of two.
- 22 tools
- Blur
- One pass
How the stack works
- 1Add an adjustmentPick a kind — curves, exposure, white balance, a LUT — and it arrives as a layer above the image rather than as a change to it.
- 2Mask where it landsThe layer affects everything below it, and its mask narrows that to one panel, one product or one corner of the frame.
- 3Blend itA blend mode and a strength decide how the layer meets what is under it. The chain applies in a fixed order whatever sequence you added things in, so stacking stays predictable.
- 4Export when it is rightThe layers stay live for as long as you are working. Pixels are committed at export, and the file you opened is left as it was.
RAW files, and where this stops
A camera RAW file opens on a Develop pass first: white balance with an As Shot button and a neutral-grey eyedropper, exposure and contrast, sharpness and detail, luminance and colour noise reduction, and lens correction where the camera profile supports it. All of it is applied to the sensor data rather than to a converted image, with an RGB histogram flagging clipped highlights and shadows as you work.
Develop bakes into the image when you save it, and the adjustment layers then sit on top and stay live. This is an editor rather than a photo manager — you open a file, work on it and export it, and the camera file itself is never rewritten. Non-destructive editing is the default here, not a mode you turn on, and the adjustment stack is not gated on any tier.
Then it leaves looking finished.
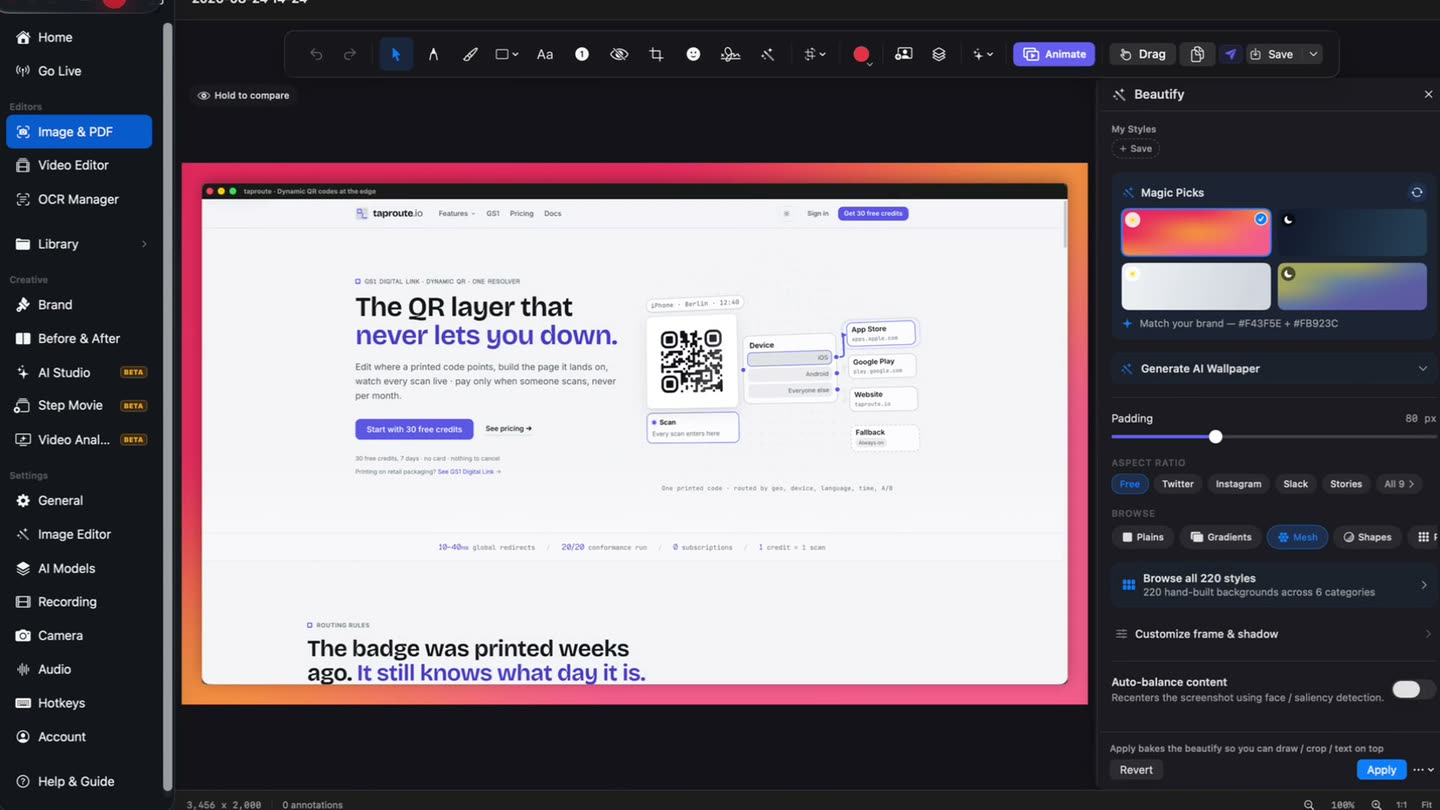
A corrected capture still looks like a capture. One pass through Beautify sets it on a background with padding, rounded corners and a shadow, and the adjustment layers under it stay live.
What gets fixed in here
A low-contrast interface shot
Exposure and levels on a layer lift a washed-out screenshot before it goes into a document.
Product shots that do not match
White balance and one shared .cube LUT put a set of images on the same colour before they reach a listing.
A screen going into a deck
Selective colour and a vignette pull attention onto the panel you are talking about, and the mask leaves the rest of the frame alone.
A photo straight off the camera
Develop handles the sensor data, then curves, HSL and grain finish it. No subscription, and the camera file stays as it is.
Questions people ask
Adjustment layers, the 22 markup tools and Magic Erase all run on the free tier, with no monthly count on any of them. Pro is $39 once and Studio is $99 once — one-time, not a subscription — and neither is needed to correct an image.
Yes. A camera RAW file opens on a Develop pass over the sensor data — white balance with an As Shot reset, exposure, contrast, sharpness, luminance and colour noise reduction, and an RGB histogram with clipping warnings — and then takes the same adjustment layers everything else does.
Yes. A LUT is one of the eighteen adjustment kinds, so an external .cube file becomes a layer with its own mask, blend mode and intensity, and it can be dialled back toward the un-graded image.
No. Adjustments stay live layers with their own masks and blend modes, and nothing is written into pixels until you export. The file you opened stays as it was on disk.
OwnClip needs macOS 26 or later on an Apple silicon Mac. It is a native Mac app — there is no Windows or web version.
Free includes the whole editor — timeline, camera effects, audio cleanup, captions, annotations, and the screenshot and PDF editors. What it caps is the take itself: three minutes, recorded at 720p, with a small watermark composited into the frames as they are written. You can keep 25 recordings. A few tools are paid rather than capped — Smart Zoom and Scroll Capture are Pro; Brand Studio, Go Live and Step Movie are Studio. Pro is $39 once and lifts every cap.
Related
A Mac image editor where every change stays a layer
Free to start. macOS 26 or later, Apple silicon.